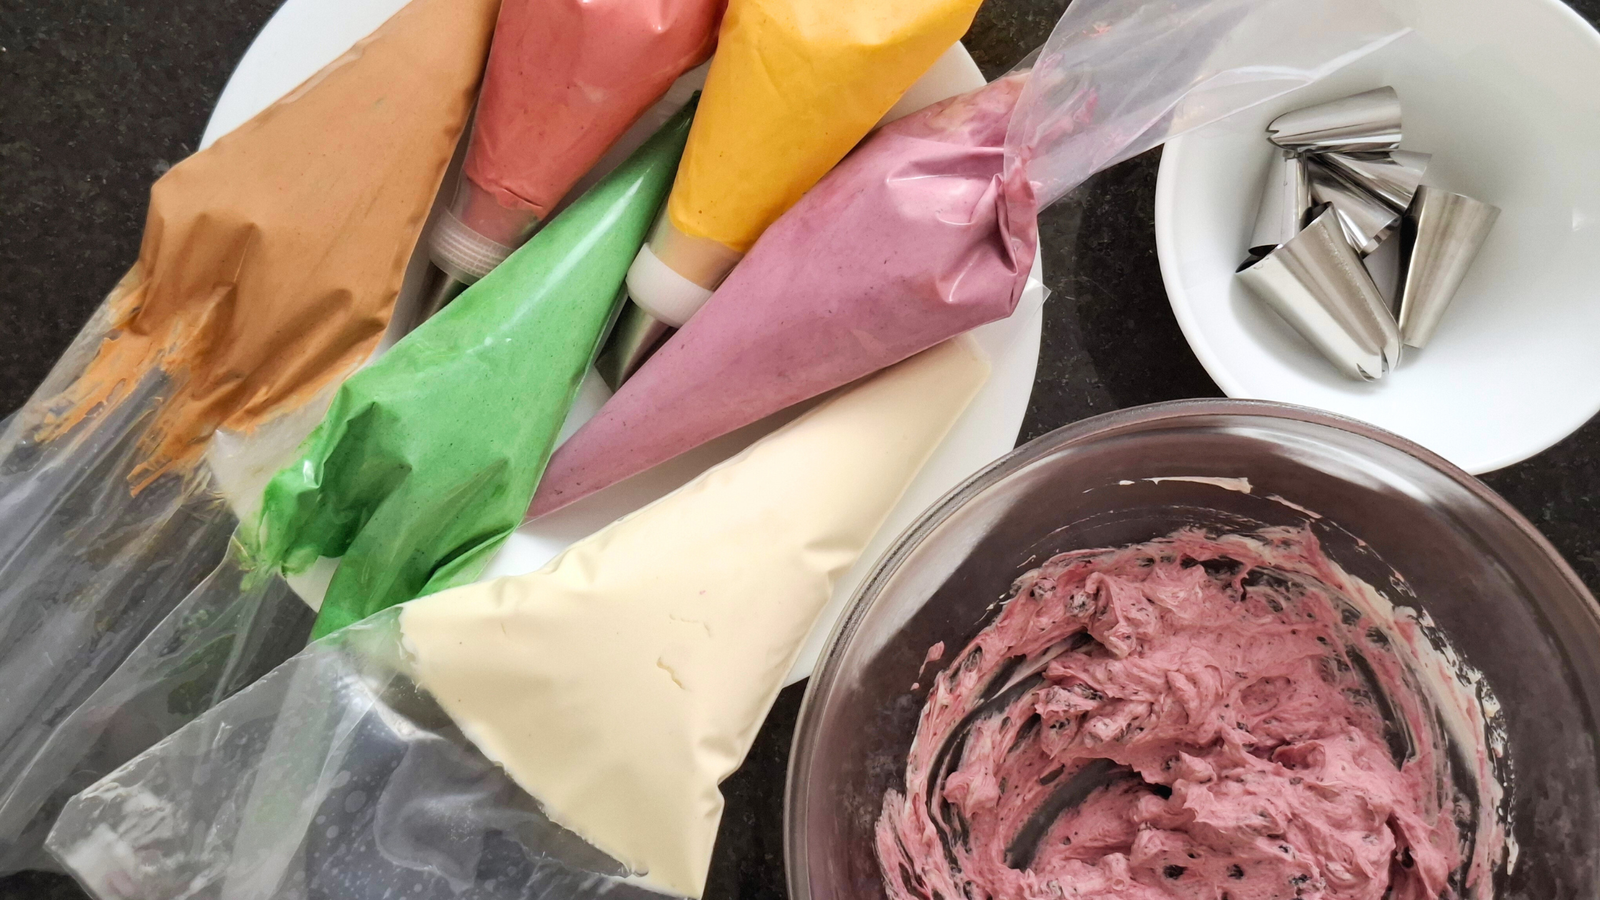
If you’re looking for a buttercream that’s stable, silky-smooth, and not overly sweet, Italian meringue buttercream is the answer. It’s a bit more advanced than American-style frosting, but the payoff is worth it, especially if you want professional-looking results that hold up beautifully in warmer settings.
In this guide, I’m walking you through every step of how to make it using 6 egg whites, with all the measurements in grams and millilitres (and cups for convenience). Whether you’re frosting a cake or piping delicate swirls on cupcakes, this buttercream will become a favorite in your recipe folder.
Why You’ll Love This Buttercream
- Silky, not gritty – Made by whipping a hot sugar syrup into meringue.
- Less sweet – Balanced flavor that lets your cake shine.
- Stable and pipeable – Holds shape well, even in warmer conditions.
- Freezer-friendly – Make it ahead and bring it back to life with a quick whip.
Ingredients
- 340 g granulated sugar
- 150 ml water (⅔ cup)
- 6 large egg whites
- Pinch of salt
- ¼ tsp cream of tartar
- 680 g unsalted butter, at room temperature (approx. 3 cups), cut into cubes
- 2 tsp vanilla extract (or 1/2 tsp to 1 tsp of your favorite flavoring like almond, lemon, or rose)
Tip: Use room temperature butter, not melted, not cold. It should be soft enough to press a finger into but still hold its shape.
Step-by-Step Instructions
1. Make the Sugar Syrup
In a saucepan, combine sugar and water.
Place over medium heat and stir just to dissolve the sugar, then leave it alone. Let it boil undisturbed until it reaches 114°C (237°F) the soft ball stage.
Don’t have a candy thermometer? Drop a bit of syrup into cold water. If it forms a soft, pliable ball between your fingers, it’s ready.
2. Whip the Egg Whites
While the syrup is heating, whip 6 egg whites, cream of tartar, and a pinch of salt. in a clean, dry bowl (wipe the inside with vinegar to degrease) until they reach stiff peaks. Then stop, you want them ready just as the syrup hits temperature.
3. Combine Syrup with Meringue
With your mixer on medium, carefully pour the hot syrup in a thin, steady stream into the egg whites. Avoid hitting the sides of the bowl or the whisk directly.
4. Cool the Meringue
Once all the syrup is added, turn the mixer to high speed and whip until the bowl feels cool to the touch. This step is crucial—don’t add the butter until the meringue is fully cooled, or it may melt and split.
5. Add the Butter
Switch to medium speed and begin adding room-temperature butter, a few cubes at a time.
The mixture may look like it’s curdling, that’s normal! Keep going. After a few minutes, it will emulsify into a luscious buttercream.
6. Flavor and Finish
Switch to a paddle attachment if you have one. Add vanilla extract (or your chosen flavor), and beat for one final minute. Don’t forget to scrape down the sides of the bowl to make sure everything is well incorporated.
How to Store It
- Use right away for the smoothest texture.
- Store in the fridge for up to 6 days in an airtight container.
- Freeze for up to 2 months.
To Use After Chilling or Freezing
- Thaw in the fridge overnight
- Let it sit on the counter for about 4 hours
- Re-whip for 30 seconds to restore texture
Ways to Use This Buttercream
- Filling and frosting layer cakes
- Piping cupcakes or cookies
- Pairing with fruit curds, espresso, or chocolate for custom flavors
Final Notes
This buttercream takes a bit of patience, but it rewards you with professional results and elegant flavor. If you try it out, tag me or leave a comment on YouTube or my socials, I’d love to see how it turns out for you!

